Aeropress Brewing Guide
Making coffee with the AeroPress is one of our favorite ways to brew at our cafe. Not only is it a very unique way of doing it, it makes a great tasting cup of coffee.
Why choose AeroPress? First off, it’s easy to travel with due to its small size and light-weight. Secondly, it makes a great cup of coffee. This particular method makes a cup with very little bitterness and acidity. You’ll find that coffees brewed with the Aeropress are often sweeter and more full-bodied, making it a very popular method at coffee shops and at home as well.
Below are the same steps we use in our cafe to brew great cups of coffee with the AeroPress.
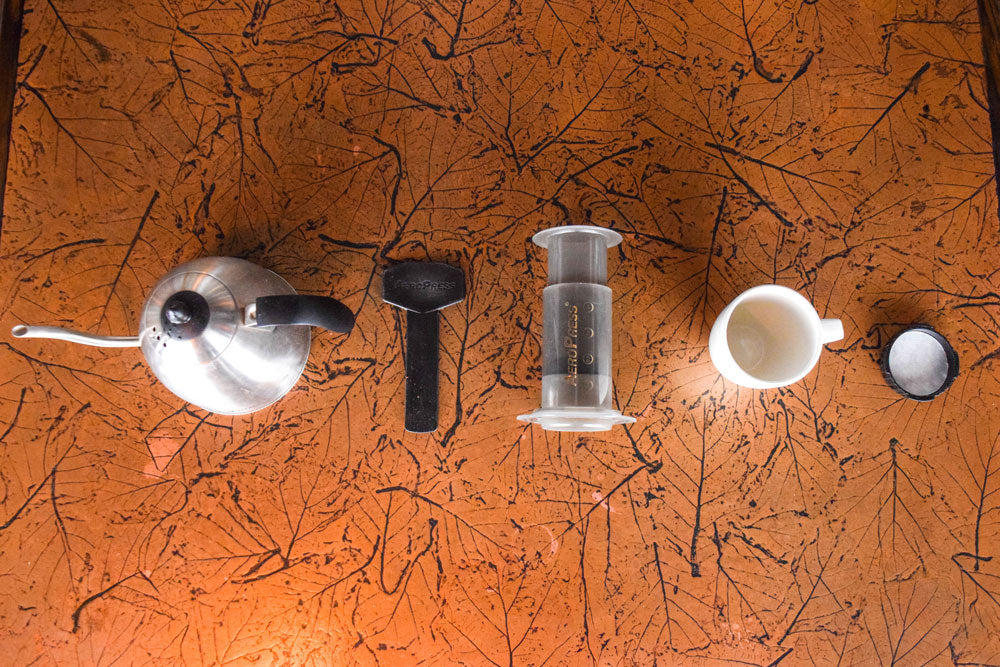 The brewing tools you’ll need:
1. Aeropress
2. Aeropress Paper Filters
3. Kettle for Water
4. Your favorite coffee (Ground slightly finer than sea salt)
5. A food scale
6. A timer with a stopwatch function
Recipe
- 16g of freshly ground coffee (We’re using a ration of about 17g water:1g coffee)
- Our staff picks are our Guatemala La Libertad or Costa Rica Cafe Vida.
- Water just off boil

Step 1
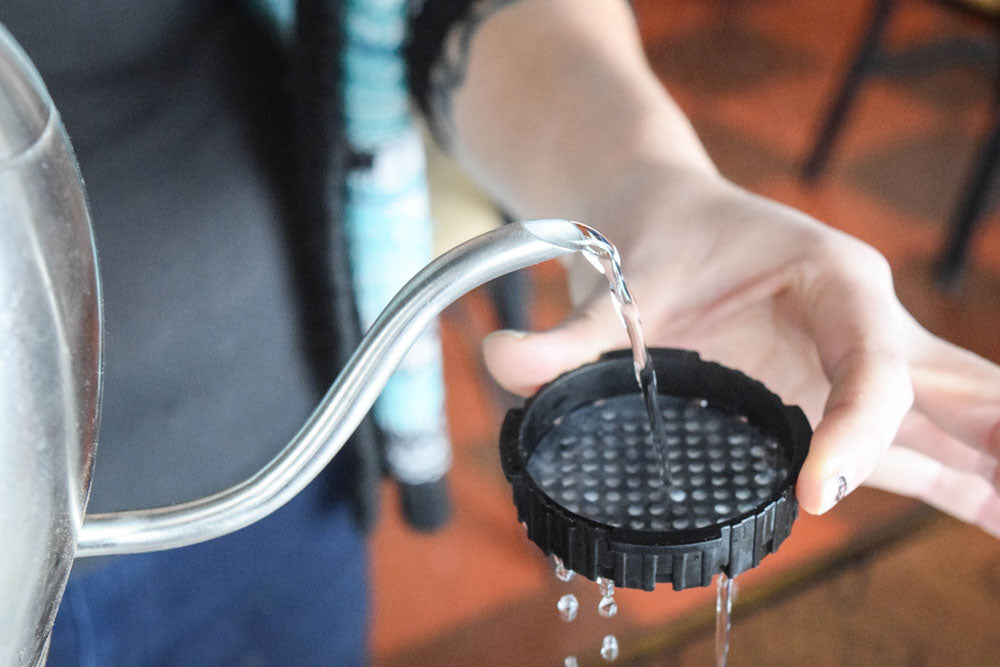
Heat Water and place AeroPress filter in the cap. Once your water has reached boil, rinse your filter. Rinsing your filter removes excess paper dust which can affect the quality of your coffee!
Step 2
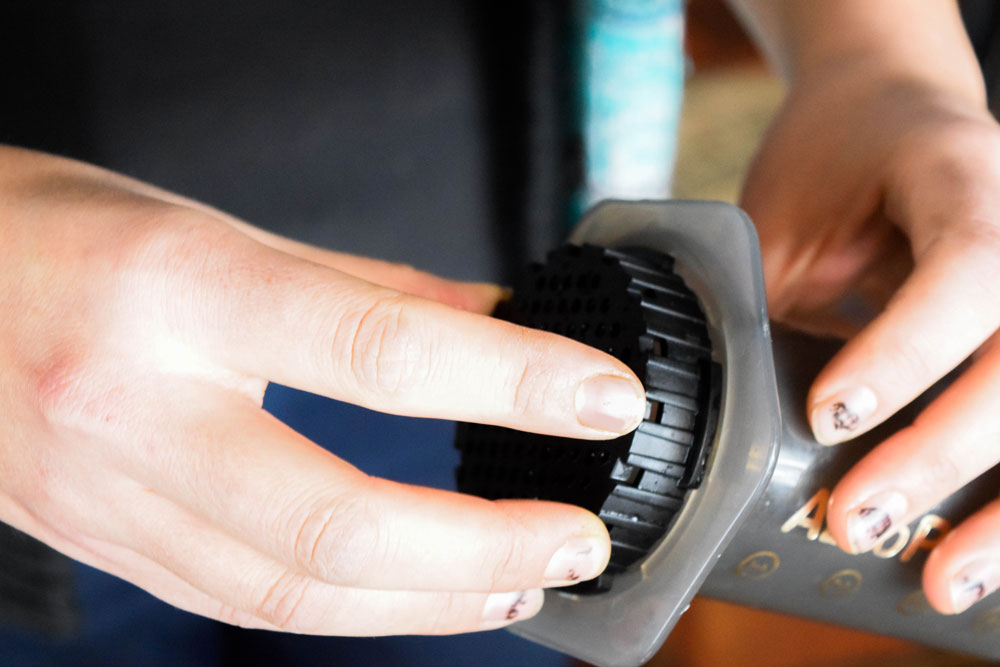
Twist the filter and cap onto the AeroPress chamber and place on top of your mug. Fill the chamber with 16g of freshly ground coffee into the AeroPress chamber. Place AeroPress on top of your mug, and place everything on your scale.
 Step 3
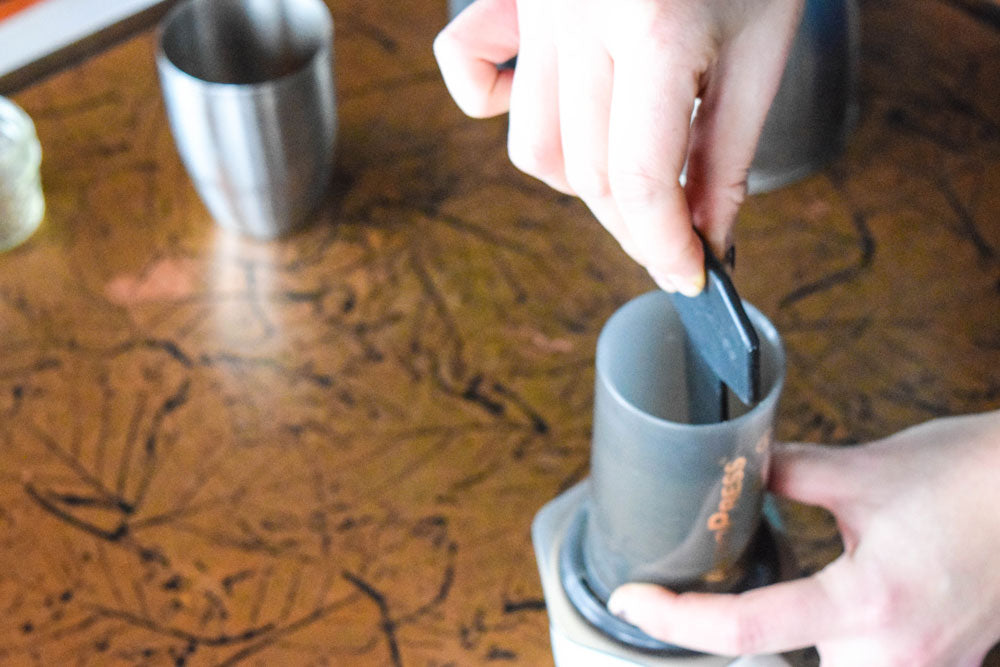
Tare/Zero your scale after you’ve placed your mug and Aeropress on it. Start your timer, and add 35g of your water just off boil, and then wait about 30 seconds. After 30 seconds has passed, stir the grounds for about 10 seconds to make sure they have all been saturated.
This stage is called the bloom. Blooming the coffee grounds allows CO2 to be removed from the grounds and creates space for the water to begin the brewing process. If your coffee is very fresh, you’ll see quite a few bubbles coming up through the grounds, and these usually slow down at around 30 seconds.
Step 4
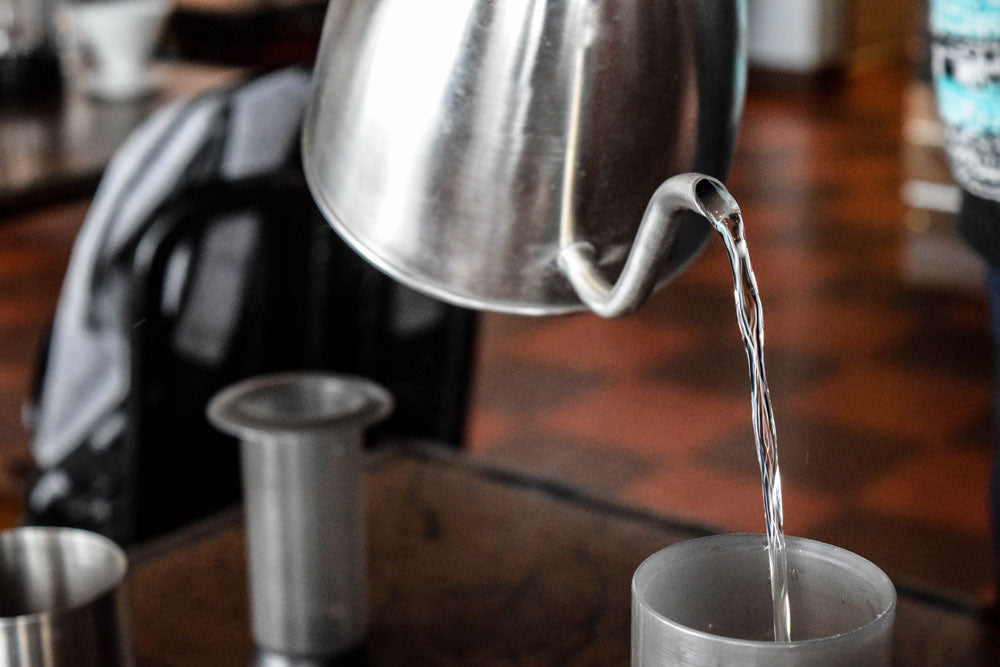
After you’ve completed the bloom, add another 230g of water (for a grand total of 265g of water) to the chamber in about 30-40 seconds.
Step 5
After you’ve reached 265g of water, insert the Aeropress plunger into the chamber. Once your timer has hit 1:45, begin pressing down and filtering the coffee out of the AeroPress. This process should last about 30-40 seconds if your grind size is right. If it takes too long, your grind is most likely too fine. If it filters very quickly, the grind size is probably too coarse.

Step 6
Enjoy your creation! The AeroPress method yields about 8oz of coffee.
Remember there is no wrong way to brew! The great thing about manual brewing is the room for creativity. Have your own recipe for AeroPress that is the bomb? Share it with us on social media!
