
A Step-By-Step Guide to Brewing Great Coffee on A Chemex
Posted on January 04 2017,
A Step-By-Step Guide to Brewing Great Coffee on a Chemex
We brew on Chemex quite a bit in our shop as it is a crowd favorite. Not only does the Chemex yield a super clean cup, it is one of the most beautiful ways to brew your coffee. If you’re looking to brew some great tasting, picturesque coffee, Chemex is definitely the way to go.
Aside from the aesthetics, Chemex makes a truly great cup of coffee. The Chemex Filters play a huge role in this, as they remove most of the oils from the coffee, resulting in a lighter mouth-feel and more complex flavors. You’ll find that coffees with brighter, more floral notes, are great choices for brewing on the Chemex.
Brewing Tools You’ll Need
- A Chemex Coffeemaker. We use an 8-cup, but Chemex also offers 6 and 3 cup varieties as well. This particular recipe is for use on the 8 cup Chemex.
- Chemex Filters
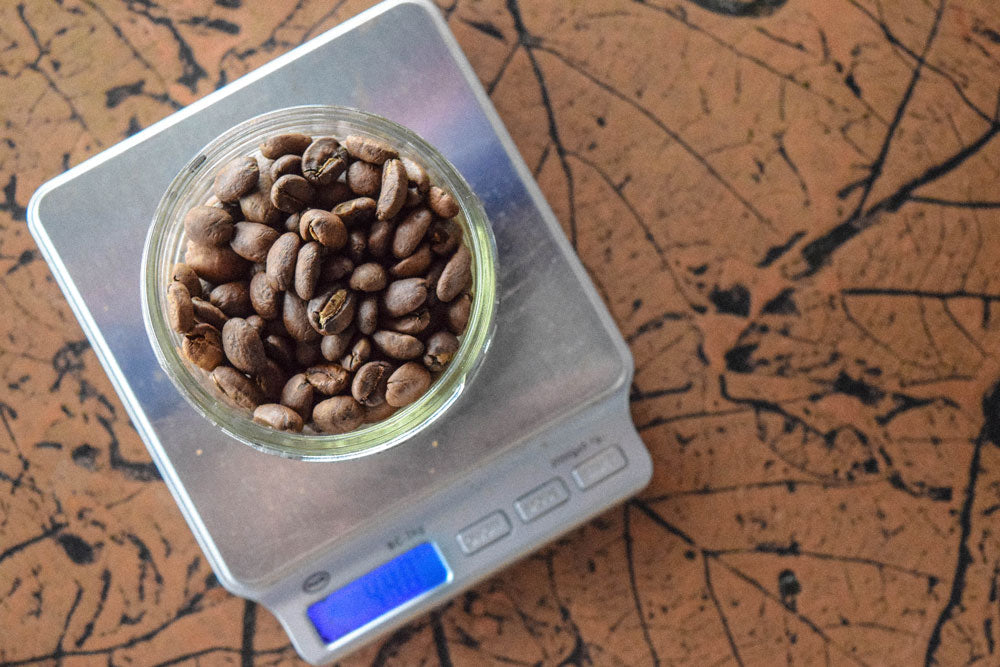
- Food scale
- Timer
- Brewing Kettle (The Bona Vita Gooseneck Kettle is a staple in the coffee industry).
Recipe
- 44g of your favorite coffee, freshly ground.
- Our staff picks are our Kenya Peaberry AA and Ethiopia Yirgacheffe
- Water just off boil
Step 1
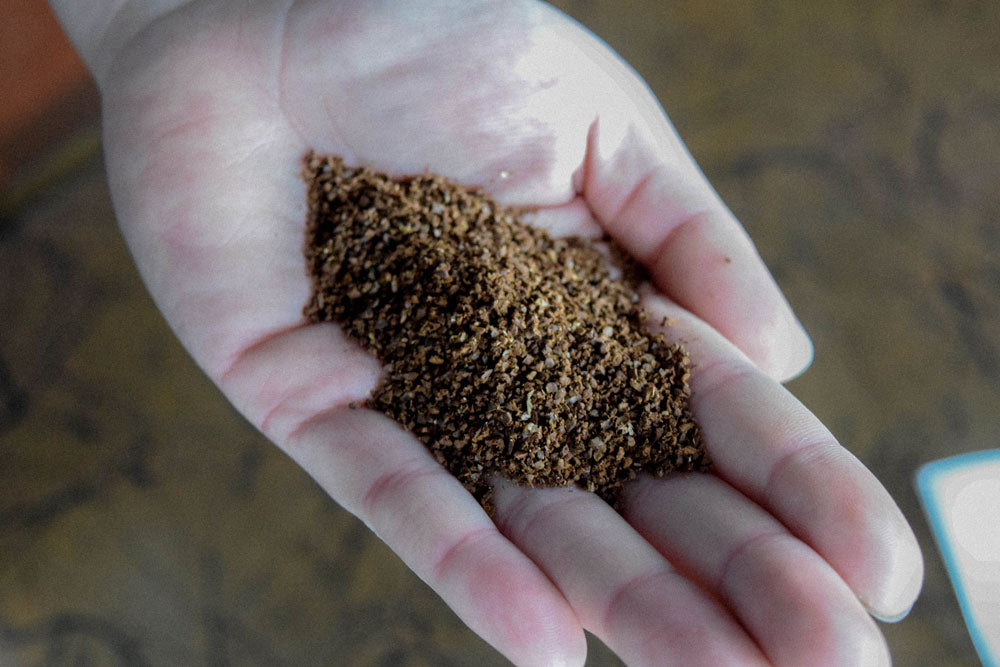
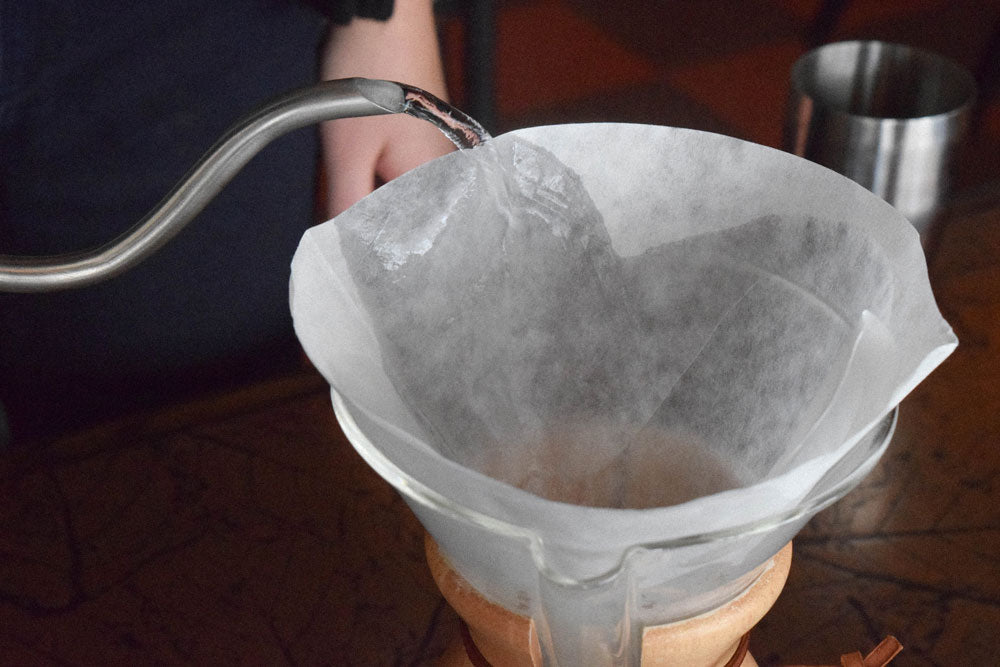
Heat your water to boil. While this your water is heating grind your coffee to a size similar to sea salt. Place your filter in the Chemex with the double folded side facing the pour spout. Once your water has hit boil, rinse your filter and remove the rinse water from the Chemex.
Step 2
Place your grounds in the filter, making sure to create a level bed of coffee. An uneven bed of coffee can lead to an uneven extraction of the coffee. Tare/zero your scale!
Step 3
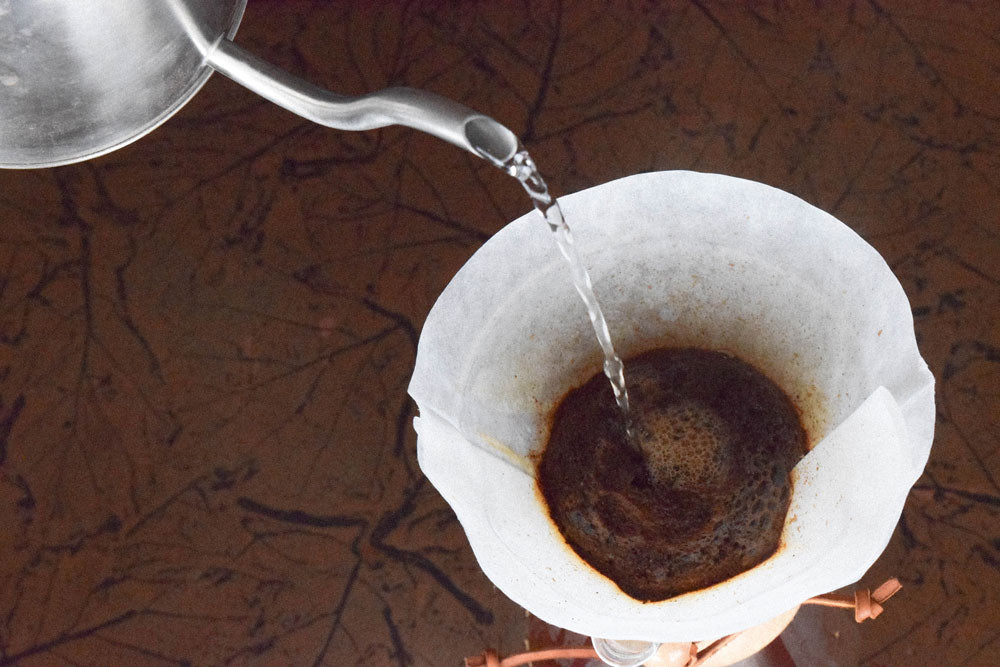
Start your timer and add 88g of water. Make sure to pour in a circle, saturating all the grounds. If you’d like, use a wooden spoon to stir the grounds, making sure they have all been saturated. This stage is called the bloom. Blooming the coffee grounds allows CO2 to be removed from the grounds and creates space for the water to begin the brewing process. If your coffee is very fresh, you’ll see quite a few bubbles coming up through the grounds. These usually slow down at around 30 seconds.
Step 4
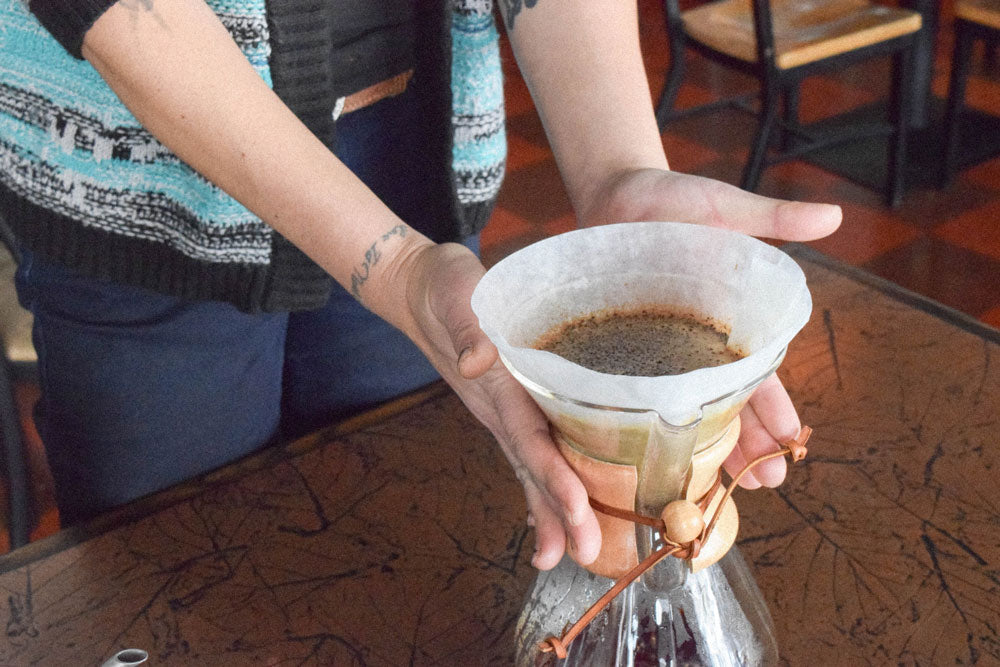
After 30-40 seconds has passed, begin adding water. We prefer to add water in stage of 100g at a time, making sure the grounds are not exposed to air once the extraction process has started. We prefer to agitate the grounds during the brewing process, which is pictured below. Gently turn the Chemex back and forth to move the grounds around in the water. You can also choose to stir at this point. Stop pouring once you’ve reached 704g. You’ll want to be finished pouring around 3:00-3:15 so that the water is done dripping around 4:30.
Step 5
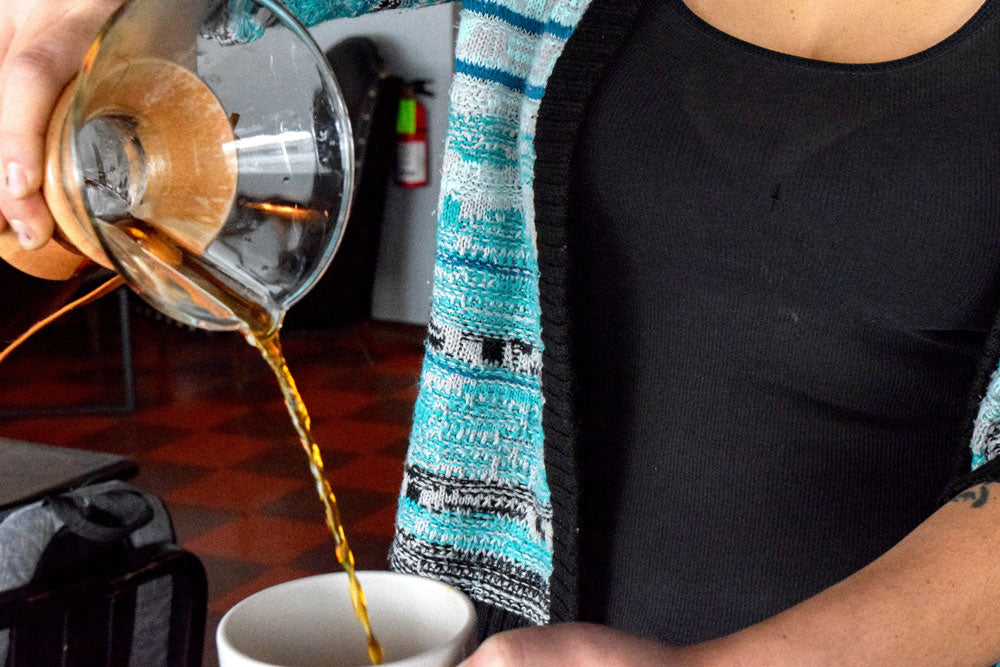
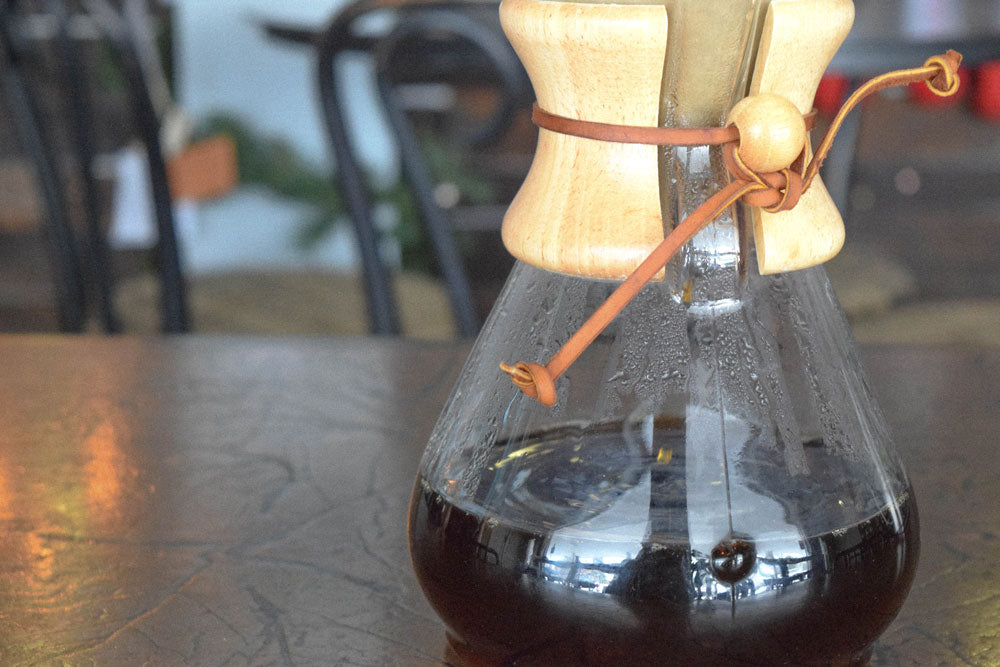
Now...we wait! Once the dripping has slowed, remove your filter from the Chemex. Swirl the Chemex around a bit, and serve! Our recipe yields about two 12oz. cups of delicious coffee!
Did your Chemex brew too quickly or take too long? Your grind size may be off. Check out our tips on getting the proper grind size!
Remember there is no wrong way to brew! The great thing about manual brewing is the room for creativity. Have your own recipe for Chemex that you think is the bomb? Share it with us on social media!
Check out our other brewing guides!